Hi everyone,
I have been honoured by Kellie Winnell of Magnolia Down Under Challenges to become a Guest Design Team Member for the month of April.
This is my first design as a team member - it's for our Challenge No. 6 - 'A Baby Is Born'.

I love this image of baby Tilda and thought that her pink jumpsuit and yellow socks would team beautifully with the Spring Flowers paper from Stampin' Up!.
I layered this floral paper onto the yellow polka dot paper (which had been given a scalloped edge) then adhered them to the dark green base card.
The piece of striped paper was embossed using the Cuttlebug 'Swiss Dots' Embossing Folder then positioned over the other papers.
I stamped the greeting in green ink on yellow cardstock, punched it out using the larger oval punch and then punched a hole at each end using my Crop-a-Dile. The sheer pink 'Baby' ribbon was then threaded through the holes and adhered to the card using double-sided tape.
Baby Tilda was then positioned over the ribbon using 3D foam dots and for the final touch I added a pale yellow flower with a gold brad.
I coloured Tilda with watercolour pencils and an aquabrush then added SU Crystal Effects to glaze her dummy, buttons and the yellow heart on her jumpsuit.
Here is a side-on view of the card so that you can see the glazing effect.

SU Supplies:
Cardstock - Mellow Moss, So Saffron
Ink- Wild Wasabi
Papers - Designer Series - 'Spring Flowers'
Punches - Scalloped border, large oval
Crystal Effects
Extras -
Pink ribbon, paper flower, gold brad.
Please join in this week's challenge - it's a lot of fun, gets your Mojo working and you'll be inspired by all the lovely entries from our other Design Team Members.
Click on the link here to take you to this site.
Hope to see lots of lovely entries for this Baby Challenge and don't forget, we have a new challenge every Sunday so come back each week to see what the new theme is and then start crafting !
Thanks for stopping by - I'll be posting another design next week!
See you soon.


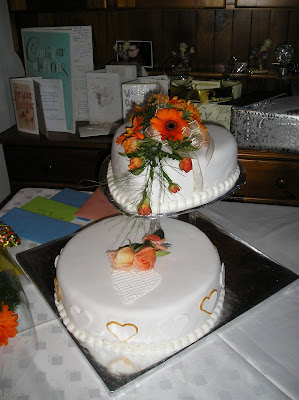
 and lastly a photo of the stunning wedding cake -